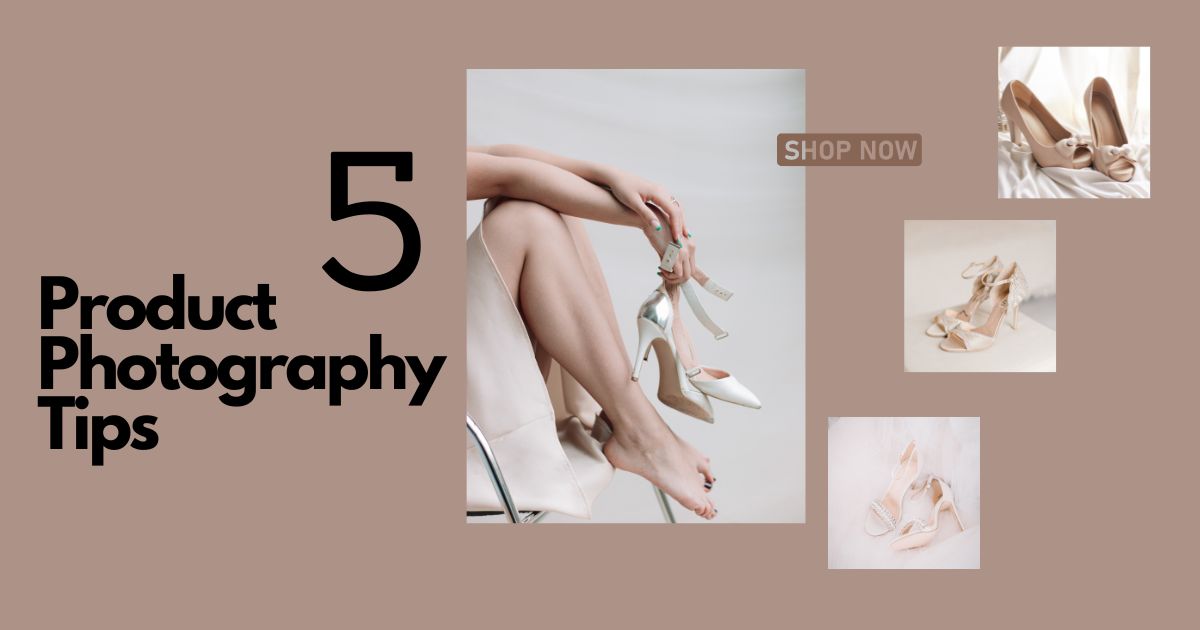
5 Product Photography Tips for Better Images
In sales, the first step for customers to approach the product is the image. Capturing stunning product photos is essential for showcasing your offerings and boosting sales. In this article, we’ll share 5 actionable tips to help you elevate your product photography skills and create compelling visuals that stand out.
Pay attention to the angle of the photo to convey the message you want
The first thing you need to pay attention to is the shooting angle. Different shooting angles bring different views of the product, as well as convey different messages; therefore, they are suitable for different shooting purposes.
Horizontal angle of the product

This is the most popular angle for taking product photos because it shows quite complete information about your product and directs the viewer's attention to the center of the photo (i.e., your product). This angle is suitable for almost all product groups.
Vertical angle (top-down or bottom-up)

This vertical angle is quite popular in the field of food, fashion. It provides a comprehensive view, helping your customers easily visualize the entire product (color, shape, angle, etc.)
Close-up angle

Close-up angle, also known as Macro angle, gives viewers a multi-dimensional view because of the detail and authenticity of the photo. The close-up angle is especially suitable when you want to describe the material and outstanding details of the product. This secret to taking product photos is especially suitable for pet shops, cosmetic products, jewelry, clothes, shoes, fashion bags, etc.
Random angle
In addition to the 3 basic angles above, depending on your perspective, you can vary random angles. Sometimes the most spontaneous shooting angles can easily bring depth and impressive highlights to your photos.
Comply with basic principles of composition
Next, if you want beautiful product photos, you need to pay special attention to the composition of your photo. A stable, clear composition helps emphasize your product, directing customers' attention to the product you want.
The rule of thirds is a "savior" for cases where you "have no" ideas for the composition of a perfect product image. To apply this rule, imagine the frame is divided into 9 equal parts by two vertical lines and two horizontal lines. When taking a photo, you should place the main elements of the photo along these lines or at their intersections. It helps create a harmonious and balanced photo, highlighting the subject in space and time.

One of the most "classic" mistakes when taking product photos is to add too much detail. It is not true that if you try to cram in as many products and supporting accessories as possible, you will get a satisfactory photo. When taking product images, you should only add 3-4 accessories to highlight the main product. You should not choose accessories that are too large or have too bright colors, overshadowing the subject of the photo.
Pay attention to the background when taking photos

Depending on each product group, you can choose the most suitable background to highlight your product. The most popular background today is a solid color background, usually the white/black background of product photography boxes. The black/white background seems outdated but still creates a strong depth effect for your product photos. Therefore, if you don't have much time or are not good at choosing a background for your photo, a solid color, black/white background is a safe and effective choice.
In addition to solid color backgrounds or artificial backgrounds, you can completely create your product photos with natural backgrounds to get the most realistic shots. You can take advantage of the most familiar backgrounds such as street scenes, treetops, flower gardens, or simply a lovely window frame!
A secret to taking beautiful product photos is choosing the background: the background must be suitable and highlight your product! For example, if you are selling cosmetics of natural origin, you can choose elegant nude-toned backgrounds or backgrounds that combine floral details to convey your product message.
Adjust the light in the photo

Surely, when reading this, many of you are still quite confused, because light is the most important factor for a beautiful photo and to have a bright enough photo, you need a lot of knowledge and experience in photography. So what is the solution to take a correct product photo - bright enough?
- Adjust the brightness: You can completely increase/decrease the brightness of the photo with just a simple operation during the photo-taking process.
- Ideal time: Natural light is always the top priority when filming/taking photos of products. However, natural light is not always ideal for taking product photos. The perfect time to get a satisfactory product photo is around 8-10 am and 3-5 pm.
- Do not take backlit photos: This is the most taboo thing when taking product photos. A backlit photo does not show your product, the photo is easily blurred, and the photo quality is not good.
- Lack of light: In addition to being backlit, this is also a factor to avoid when taking product photos. In conditions where natural light is too weak, you may need the support of artificial light (electric lights, reflectors, etc.). This is a secret to taking beautiful product photos that you need to remember carefully.
Some notes to have professional and quality photos
In addition to the above points, you need to pay attention to some points below!
- Clean the camera: The most important thing for a beautiful photo is that your camera must be clean! Only when the camera is clean will your photos be clear and beautiful!
- Avoid shaking when taking photos: The camera is designed to minimize shaking during filming/taking photos. However, you still need to avoid shaking the camera when taking pictures to ensure the most perfect photo.
- Remove "garbage" in the photo: In addition to paying attention to the composition and background of the photo, you need to pay attention to the unnecessary details - "garbage" in the photo. All unnecessary details around or next to the photo need to be removed to make the photo as "clean" as possible.
Conclusion
Hopefully, with the above product photography tips from Mosyne, you can confidently take beautiful product photos - true to your brand standards. Don’t be afraid to explore new techniques and refine your skills. With the right approach, you can transform your product photos into a visual asset that sets your brand apart.
Hoàng Duyên