How to Make Aesthetic Photos: 21 Tips for Artistic Photos

Do you know that over 95 million photos are shared on Instagram every day? To stand out in the crowd, your photos need to be aesthetic. However, you don’t need to be a professional photographer or own expensive gear to create visually stunning images. The secret lies in knowing how to work with light, color, and composition. All of that can completely transform your shots.
In this blog, we’ll walk through 21 practical tips to help you make aesthetic photos. You can create the kind that tells a story, sparks emotion, and makes people pause. Let’s get started.
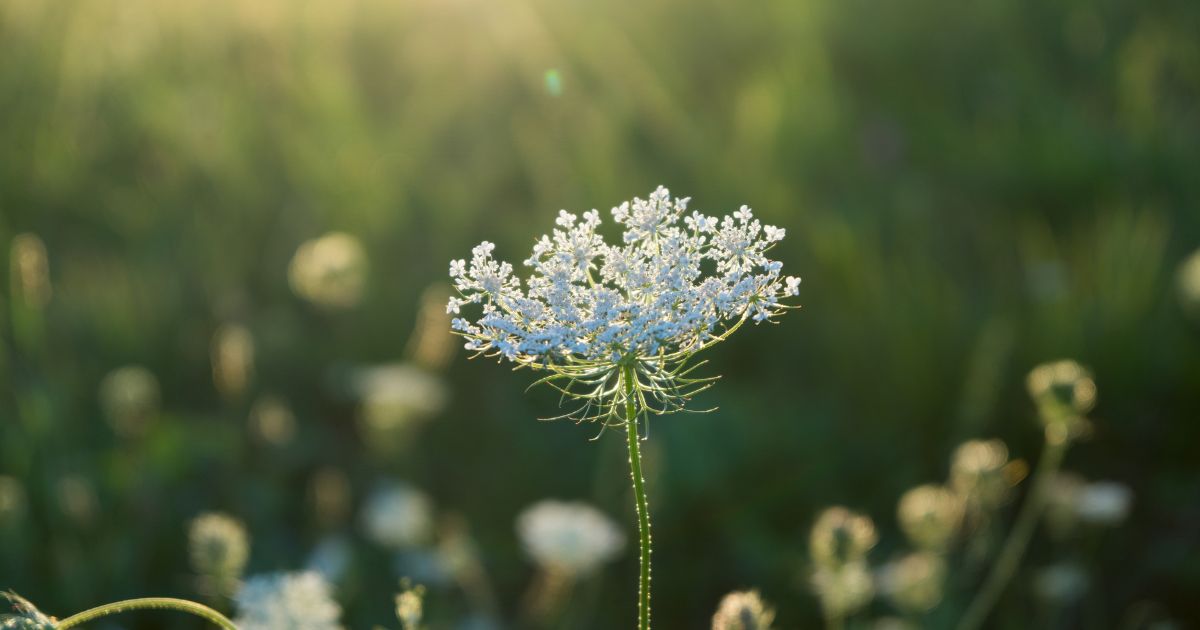
1. Find Inspiring Light

Light can make or break your photo. Studies show that images taken during the golden hour (the hour after sunrise or before sunset) are rated 25% more visually appealing by viewers due to the warm tones and soft contrast.
To capture that glow, shoot when the sun is low in the sky. This soft, diffused light wraps around your subject, reducing harsh shadows and making skin tones look better without editing. If you want more texture and mood, shoot from the side to highlight contours.
A fun fact is that human brains are wired to follow light contrast. Placing your subject where light meets shadow naturally draws the viewer’s eye.
2. Choose a Color Palette
Up to 90% of snap judgments about a product or image are based on color alone. That means choosing a cohesive palette can dramatically boost the emotional impact and visual appeal of your shots.
The tip we want to bring to you is to stick to 2–3 main tones in your frame. The warm neutrals for cozy vibes, soft pastels for dreamy moods, or bold primaries for playful energy. Too many clashing colors can confuse the eye and dilute your story.
3. Keep It Minimal

Sometimes, less really is more. Minimalist photography doesn't mean doing less work; it’s about making each element in your frame matter more. According to visual cognition studies, images with fewer distractions increase comprehension and recall by up to 30%. So, if you want your audience to feel something and remember it, simplicity is powerful.
What should we do? You can try stripping the scene down to the essentials. Only one strong subject with one clean background. Maybe add a leading line or shadow to guide the eye.
4. Apply the Rule of Thirds
Our eyes naturally gravitate toward points about one-third into a frame, not the center. Off-center composition increases viewer engagement by up to 30% compared to perfectly centered subjects. It keeps our brain curious, subtly moving our attention around the image.
So, how do you use it? Picture a tic-tac-toe grid over your photo, two vertical and two horizontal lines, splitting the frame into nine equal sections. Now, place the most important part of your scene, like a person’s eyes, the sun, or a striking tree, where the lines intersect. These "power points" are visual hotspots that make your photo feel intentional and balanced.
If you're shooting a landscape, try aligning the horizon with the top or bottom third. Taking a portrait? Line the subject’s eyes along the upper third. These small tweaks make a big difference, they add structure without feeling rigid.
The pro tip for the Rule of Thirds is to turn on the grid feature in your camera app. Most phones and DSLRs have it tucked away in the settings, and once it’s visible, it becomes second nature to shoot this way. Over time, you’ll start to see the grid even when it’s not there. It's also a sign that your compositional instincts are leveling up.
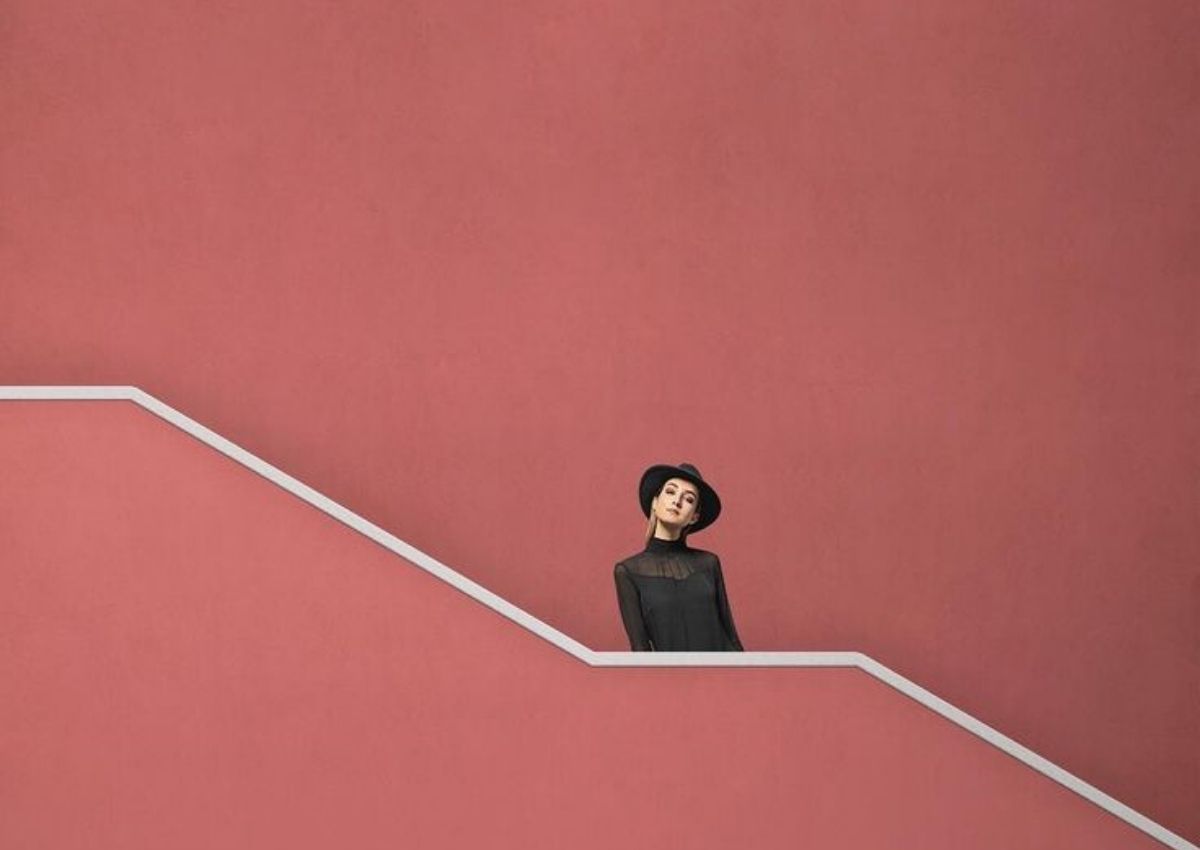
5. Frame with Intention

Think of your frame as a stage. Instead of letting distractions sneak in from the edges, use elements in your environment to draw attention inward. Doorways, windows, tree branches, and staircases can be tools to create a natural visual border around your subject.
Here’s a quick exercise: next time you’re out shooting, pause for five seconds before pressing the shutter. Scan the edges of your viewfinder. Is anything pulling the eye away? Can you use anything nearby to frame the subject better? The more deliberate you are about what’s inside (and outside) the frame, the stronger your story becomes.
6. Focus on the Details
Details slow people down. They make the viewer stop, look closer, and feel something more intimate.
To focus on the details, shift your mindset from the big picture to micro-moments. Rather than photographing the entire flower field, try isolating one bloom with dewdrops on its petals. Don’t just shoot the skyline, notice the reflection of the city lights in a puddle after rain.
Use a shallow depth of field (like f/2.8 or lower) to blur the background and let your subject shine. Play with macro mode on your camera or phone to get closer than you think you should. And the most important question for yourself - what emotion does the detail carry? Is it nostalgia? Comfort? Tension?
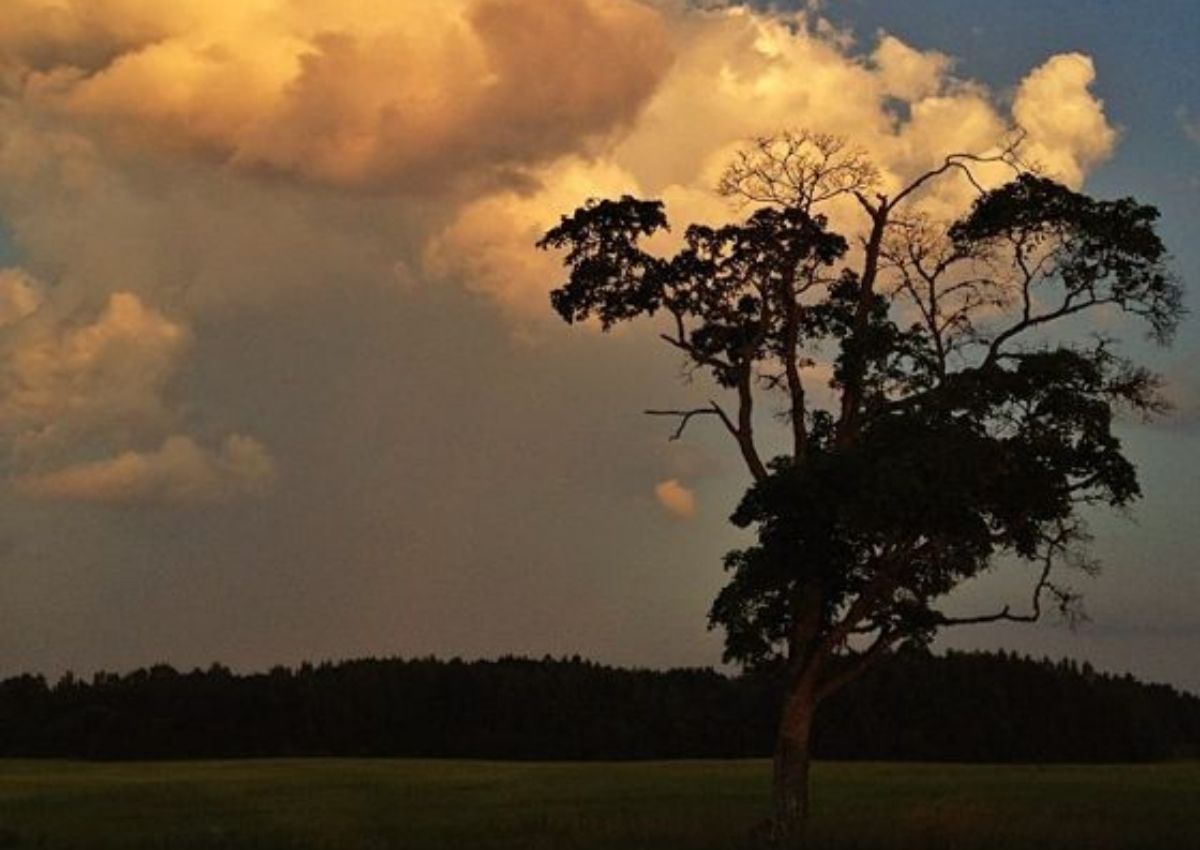
7. Create Symmetry

There’s something deeply satisfying hidden behind symmetry. Our brains are wired to seek it out. Studies from the University of Warwick have shown that humans instinctively associate symmetrical images with beauty and balance. That’s why a perfectly mirrored hallway, a reflection in still water, or a face framed dead center just feels right.
When used intentionally, symmetry can be striking, even cinematic. You can capture visual harmony in your photos by paying attention to repeating shapes, mirrored objects, and central alignment.
Symmetry breaks the “rule of thirds,” and that’s okay. Every layout has the right amount of satisfaction. A centered composition can make your image feel calm, strong, or even regal.
8. Use Negative Space
Negative space is the empty or open space around your subject. Scientifically, spacious compositions support the brain to process images more easily, creating a sense of calm and focus.
Negative space draws attention to your subject by contrast. It’s like the silence grabs attention in a way noise never could. This technique is especially effective if you want your photo to feel minimal, modern, or introspective.
9. Tell a Story
The most memorable aesthetic photos don’t just look good; they say something. They make you feel something. A photo that hints at a journey, a relationship, or a fleeting moment invites the viewer in, creating a deeper connection.
Think about the "before" and "after" in a scene. Capture the coffee being poured, not just the cup. Show the wind tugging at someone’s coat, not just the pose. Don't forget the detail's importance — a half-tied shoelace, a smudge on a cheek, a shadow that feels like a secret. These subtle cues allow the viewer to fill in the blanks with their own imagination.
Ask yourself: What is happening here? What happened just before? What’s about to happen next? Your goal isn’t to stage a movie. It’s to suggest just enough that someone wants to stay and wonder. When done right, your photo will be felt.
10. Edit with a Consistent Filter

Filters change the overall mood of your photo by adjusting elements like contrast, temperature, and saturation. A warmer filter, with tones like golds and browns, adds a cozy, nostalgic feel. Cooler filters, with blues and grays, give off a more modern, clean look. The key is to choose a filter that fits your vibe and stick with it to create visual consistency.
For best results, try keeping your color temperature between 4500K and 5500K to maintain natural-looking skin tones. Contrast adjustments in the range of +10 to +20 usually add just enough depth without making your photo look too processed. Be careful not to crank up the saturation too much — it can quickly make skin look unrealistic and throw off your overall tone.
11. Use Natural Elements

One of the easiest ways to add depth, texture, and interest to your photos is by working with natural elements. Viewers are naturally drawn to images with greenery, water, or natural light. These elements have been shown to increase emotional connection and even reduce visual fatigue.
12. Shoot in RAW (if possible)
If your camera or phone allows it, switching to RAW format can be a game-changer. JPEGs compress and discard some image data to save space. Opposite, RAW files keep all the original details exactly as the camera saw them. It gives you way more flexibility when editing, especially with exposure and white balance.
That said, RAW files are larger and take up more storage space, and not all phones or editing apps support them. If you're using a smartphone, check your camera settings. Many newer models, like iPhones or Google Pixels, have RAW options built in. When you're editing, make sure you're using apps that can handle RAW properly, like Lightroom Mobile or Snapseed.
If you’re serious about building an aesthetic or editing consistently, RAW is worth the extra step. It gives you more control, more precision, and ultimately more room to make your photos look exactly how you imagined them.
13. Level Your Horizon
A tilted horizon can throw off the entire balance of a photo. Unless you’re going for a dramatic or intentional angle, keeping your horizon straight helps your image feel grounded, calm, and professional. Our eyes naturally expect horizontal lines (the ocean, a skyline, or even a table) to be level. When they’re not, it can feel slightly off, even if viewers can’t explain why.
Most camera apps and editing tools include grid lines or leveling aids. They help you line things up as you shoot, especially if you’re working with landscape shots or any scene with strong horizontal lines. If the photo’s already taken, almost every editing app (Lightroom, Snapseed, even Instagram) has a straightening tool that lets you adjust the angle with a simple slider.
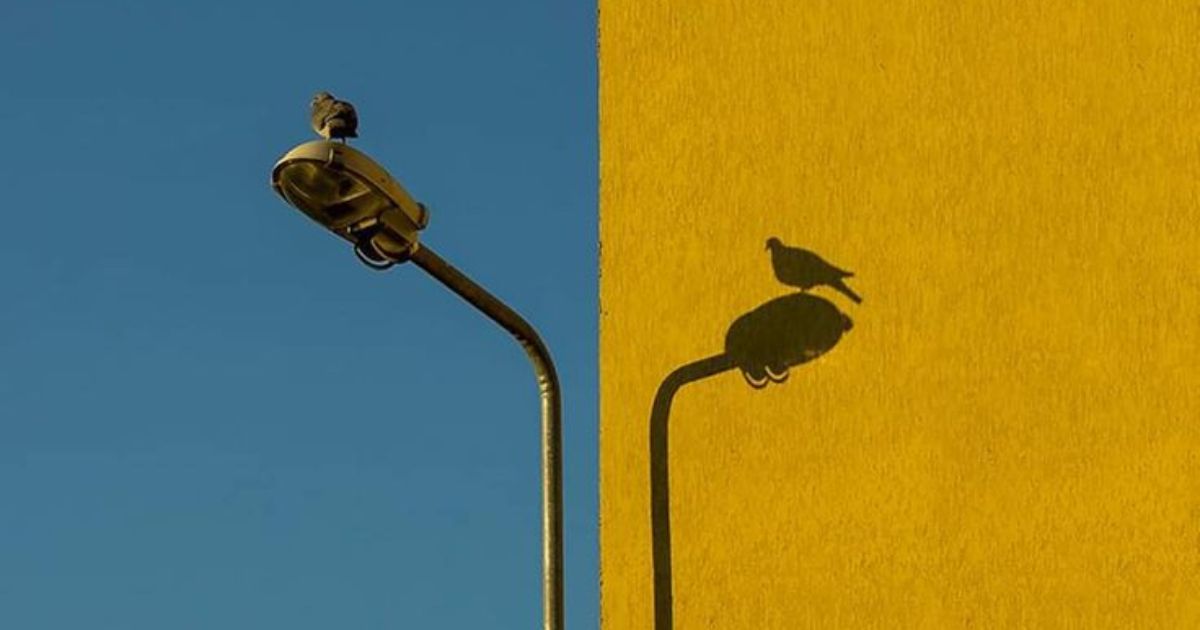
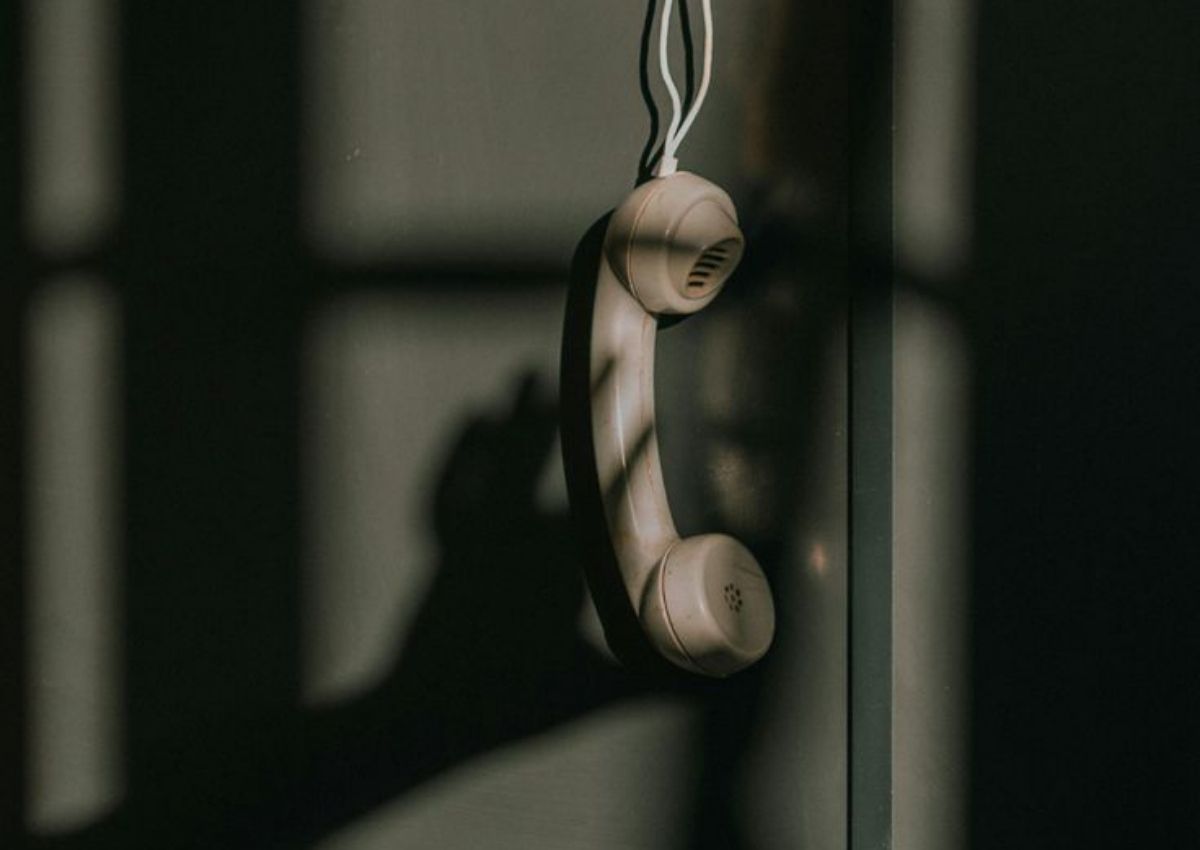
14. Use Shadows Creatively
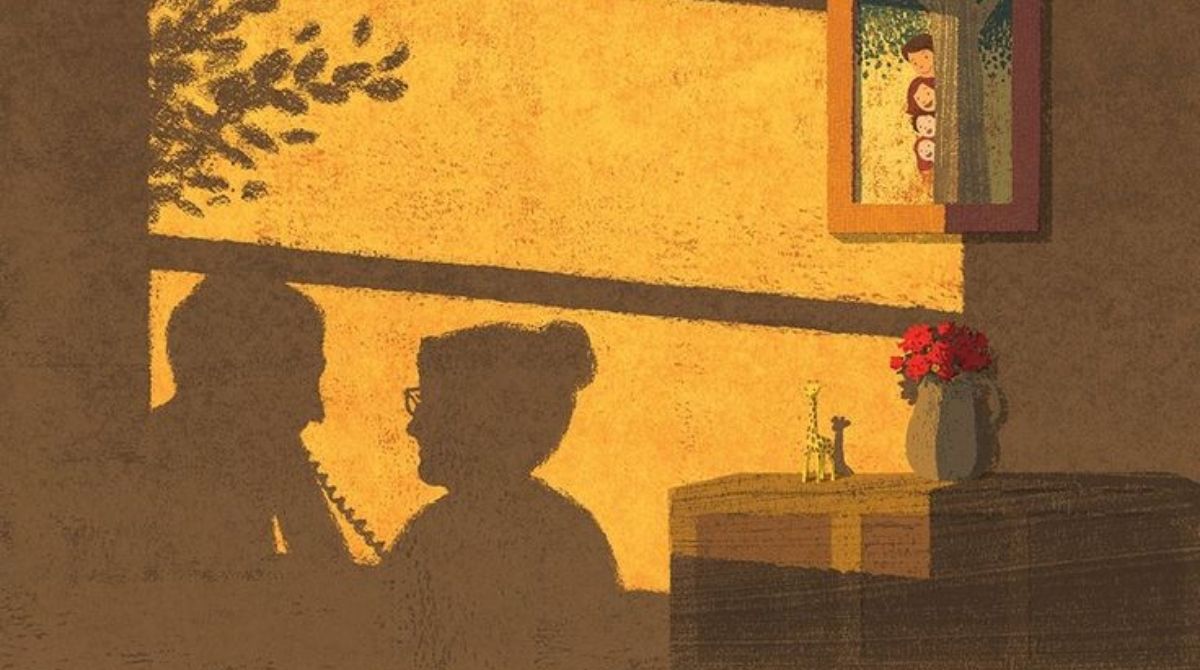
Shadows can add mystery, emotion, or movement, depending on how you use them. For portraits, try capturing just the shadow of a person for a more abstract, poetic feel. For street photography, wait for overlapping figures and shapes to create interesting silhouettes and interactions.
15. Capture Movement
Our brains are wired to follow movement, so even subtle motion in a still frame naturally draws attention and creates visual interest.
You can capture motion in a few different ways, depending on the vibe you want. Using a fast shutter speed freezes action; it's perfect for crisp shots of jumping, dancing, or running. On the other hand, slowing down your shutter creates a blur effect that shows the path of movement, such as a flowing dress, spinning lights, or passing cars. Even in portraits, encouraging your subject to move slightly, like a soft turn, a step forward, or a hand in motion, adds life and prevents that stiff, overly posed look.
16. Try Flatlays
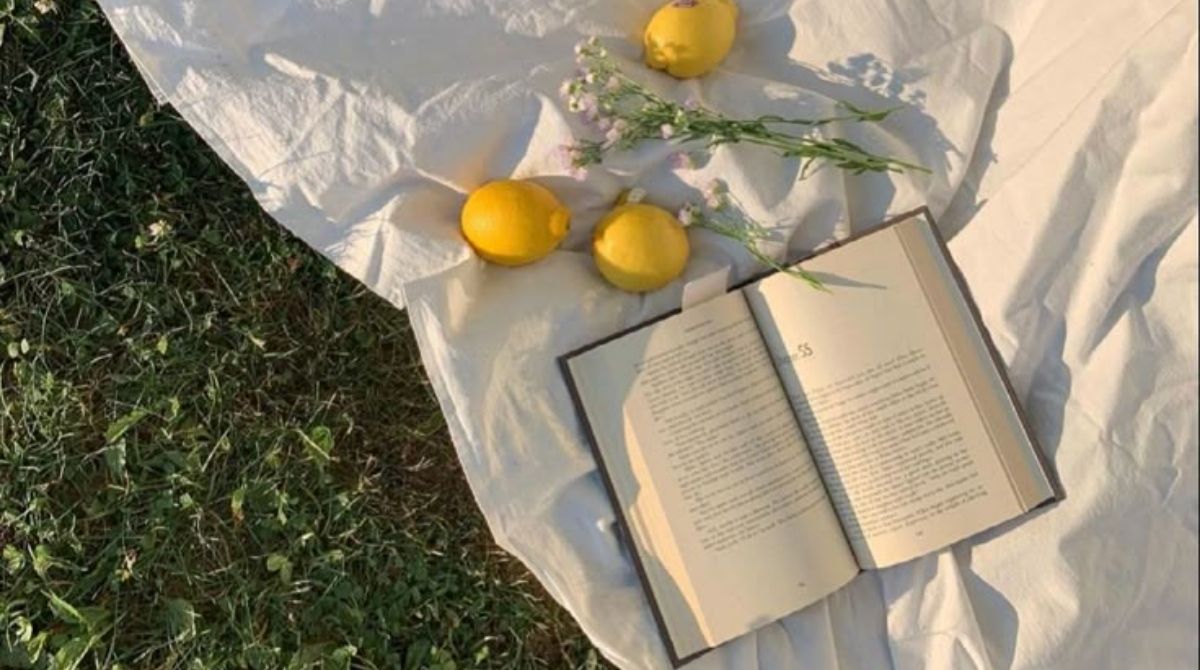
You just place your objects on a flat surface and shoot from directly above. It sounds simple, but good flatlays rely on strong composition. Think of your layout as a mini scene. Every item should add something to the story you're telling.
17. Think Like a Designer
Thinking like a designer has a good influence on photography. Creating aesthetic photos will be enhanced when making visual decisions with intention. When you apply it, you can balance shapes, colors, space, and alignment to create harmony in your photos.
18. Crop with Purpose
A strong crop can turn an average photo into a bold, focused image. It removes distractions, tightens your composition, and guides the viewer’s attention exactly where you want it.
Our brains process simpler images more quickly and remember them better, so less really is more.
19. Be Patient with Timing
Great aesthetic photos often come down to one thing: timing. The right moment can turn a decent shot into something that feels effortless and alive, but that moment doesn’t always happen right away. You have to wait for it.
20. Post-Process Thoughtfully
Editing should enhance your photo, not cover it up. When done well, post-processing brings out the best in your image by sharpening your message, balancing the tones, and guiding the viewer’s eye. You should do it with subtlety and intention.
21. Practice Your Eye
Good photos don’t happen by accident. They come from noticing details that most people overlook: light falling just right, a perfect color match, a strong shape in the background. The more you look for these things, the more you start to see them.
Start small. Try noticing patterns, symmetry, or interesting textures in your everyday surroundings, such as the curve of a shadow on a wall, a color pairing in your lunch, or the way reflections play on glass. According to design psychology, repeated exposure to visual patterns helps train the brain to identify balance and beauty faster.
Another way to practice is to analyze photos you admire. What’s working? Where does your eye go first? Is it the color, the framing, or the subject? Reverse-engineering others' work builds your visual vocabulary. Over time, you’ll start making those same choices naturally.
Take more photos, but review them critically. Look at your images and ask: What works? What’s missing? You’ll start to notice patterns. They show you exactly where to improve.
Conclusion
How to make aesthetic photos? These 21 tips for artistic photos can help train your eye, sharpen your instincts, and develop your own visual style. The more you shoot, the more you’ll understand what feels right to you.